Last year, I have been paying regular visits to an open wood workshop in my city. The concept is pretty cool: You can come by on certain days of the week and – for a small fee – use the work benches, woodworking machinery and tools there. There’s also some experts around, in case any advice is needed.
There are a few of these workshops all over town and I think it’s amazing. I love woodworking and always thought that my bedroom’s limited suitability to be used as a wood workshop was such a bummer. Last summer, I’ve been in the workshop on a regular basis.

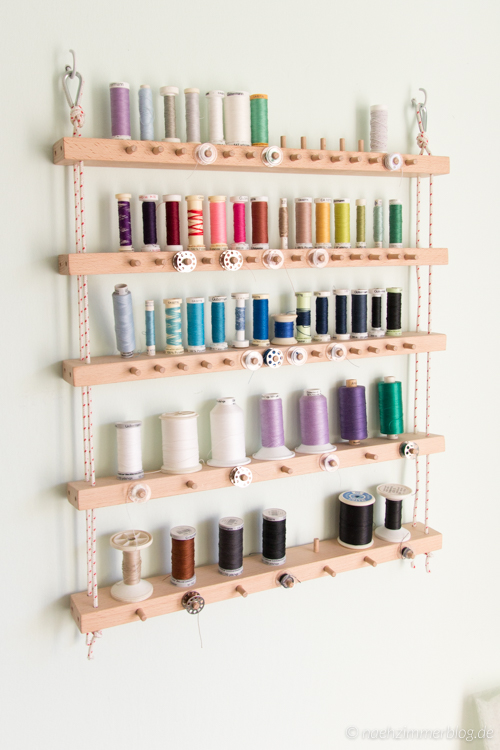
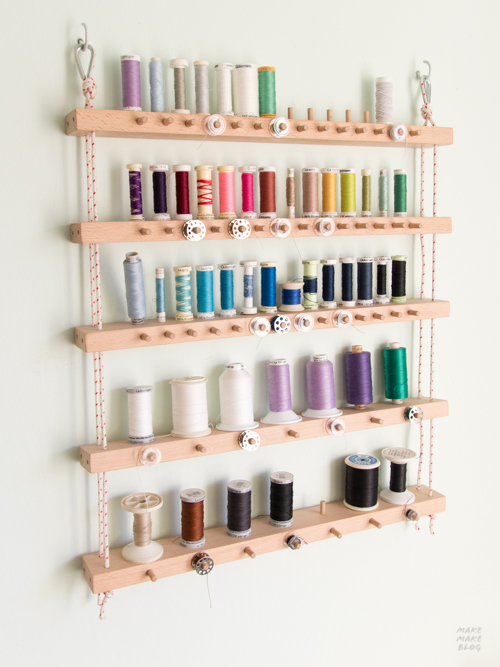
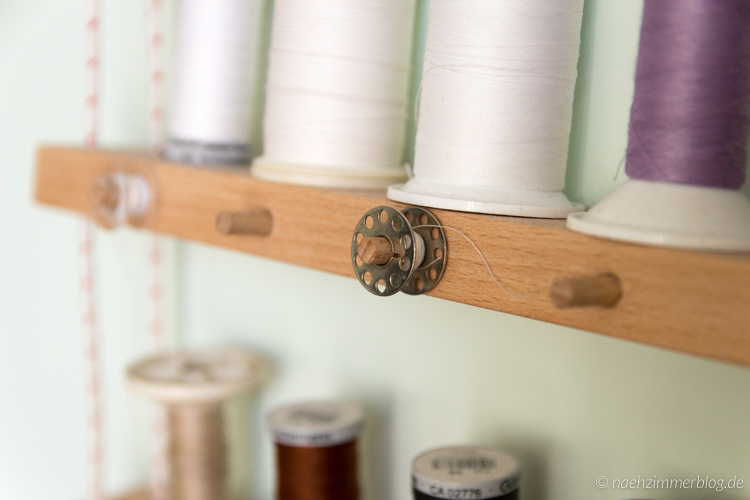
My first project was this thread rack. A storage solution for thread spools is something I’ve been missing for quite some time now and I definitely wanted a solution that lets you store the spools and their accompanying bobbin together. I used beechwood – the warm colour is something I’ve fallen in love with during my design studies.

When visiting a fellow woodworking friend, I discovered shelves with thick ropes in his apartment. I love the opennness and the mix of different material and thought it would be interesting to see how this idea would work in a slimmer, more elegant context, especially when contrasting thick wooden strips.
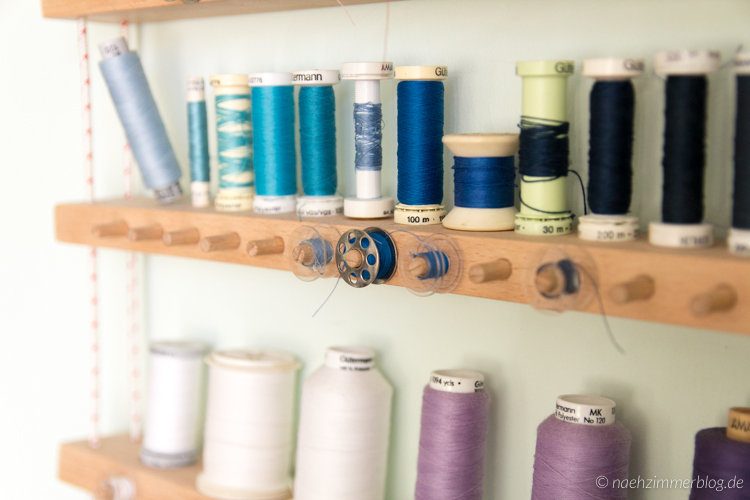
Using both thick and thin thread spools, I took their measurements and the number of my current spools as an orientation and made a custom size rack. Once the measuring and planning is done, it’s a relatively quick project: Cutting the wooden strips to size, mark and drill holes (for an exact 90°-angle and even depth a drill press is best, but a cordless drill can work as well), then sand everything.
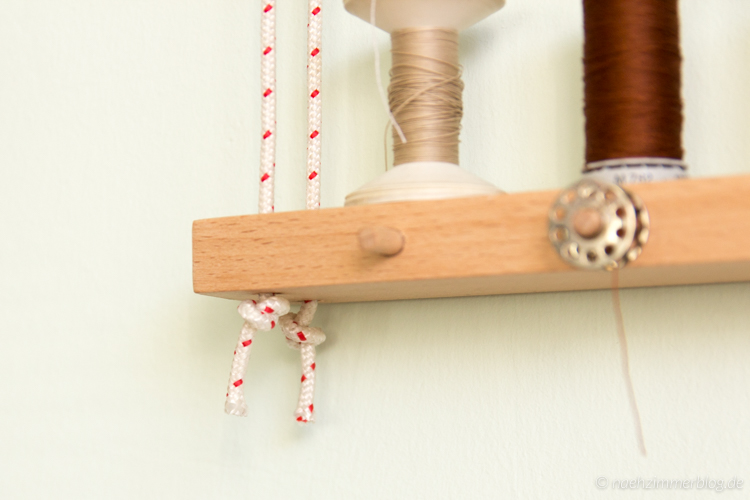
To mount the wooden strips, I used nylon rope from the hardware store. I knew I wanted something with a bit of colour and the one with the red spots was perfect, as it fits my mint green wall so well.
The strips are fixed with set screws, that I screwed in through the sides. But simple knots will work just as well. The metal thingies on top are called thimbles. They’re not exactly necessary, but I find they add a certain fancyness.
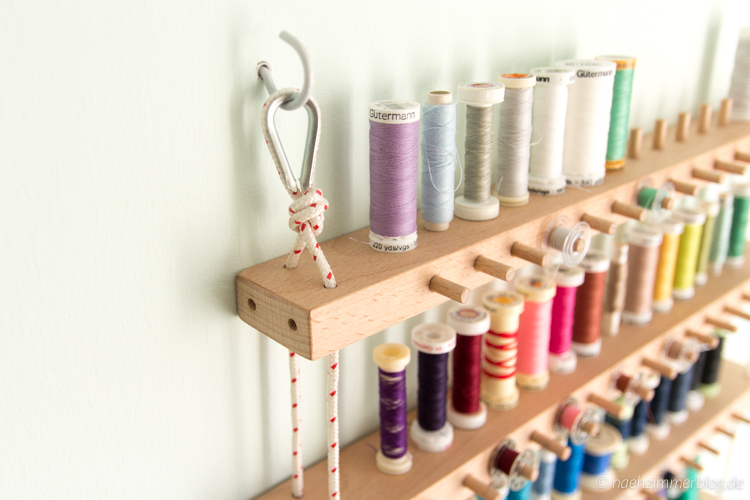
I cut the little bars for the thread holders from dowels which proved to be the most time-consuming, because the edges on every single piece needed to be sanded. Impatient people can just use nails here, but I love the look of an all-wooden rack.
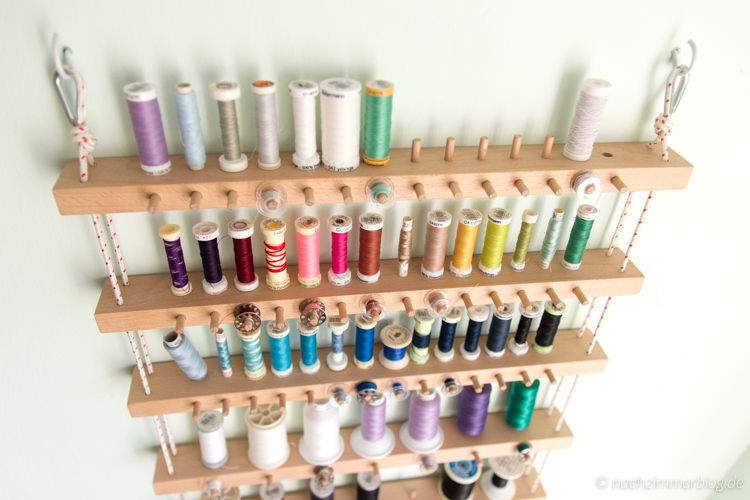
I love my new thread rack! Most of all, I love that it looks high-quality and not necessarily “homemade”. This project also made me lose my fear of using an impact drill. The walls in my room are kinda complicated and even mounting a simple picture frame requires a drill. For some reason, I’ve always been afraid of using that tool, but not anymore! I may or may not have gone a little crazy after mounting the thread rack, also mounting my guitar, some hooks, several picture frames and the ironing board :-)
